
It’s beginning to look a lot like Christmas… well it is in my kitchen anyway.
 So it is a little bit over due, with several of my friends making their cakes at the end of September, but better late than never and now a the perfect time.
Making a Christmas Cake can be pretty daunting (to fruit cake virgins) so I have documented the process step by step.
Ingredients:
- 175g butter, chopped (Use block of Stork if making DF)
- 200g dark muscovado sugar
- 1.2 kg dried fruits and glacé cherries
- finely grated zest and juice of 1 orange
- finely grated zest of 1 lemon
- 3 large eggs, lightly beaten
- 85g ground almonds
- 200g GF plain flour (I use Doves)
- ½ tsp baking powder
- 1 tsp ground mixed spice
- 1 tsp ground cinnamon
- Lots of booze
Instructions
Step 1: Prepare & Soak Fruit
 First choose which fruit you want in the cake a good lot of variety tends to make it a bit more interesting. This year I used a combination of: dried mixed berries, sultanas, dried cranberries, glacé cherries and a tiny bit of dried mango and pineapple.
Wash all the fruit and pat dry before putting in a large bowl.
Then drown in the booze of your choice, I put a combination of Ameretto, Brandy and Dark Spiced Rum. For a slightly more technical term to drown, you want enough to coat all the fruit and a little at the bottom of the bowl.

Cover up the fruit and leave to soak as long as you can, the longer the better. I only did it for 2 days, stirring the fruit whenever I went in the kitchen and kept topping it up.
The longer the better, but I would say a minimum of 24-48 hours. Once you are ready to make the cake itself move on to step 2.
Step 2: Making the cake pt1
 Put the butter, sugar, zests and juice in a large pan (the largest saucepan you own!) and slowly bring to the boil, stirring until the butter has melted.
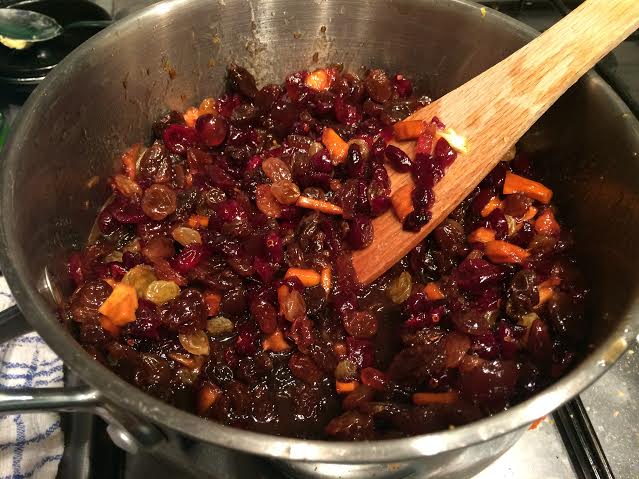 Then pour your soaked fruit into the pan with the molten mixture and stir thoroughly so that all the fruit is coated in the buttery sugary goodness.
Then reduce the heat and let the mixture heat for around 10 minutes, stirring occasionally.
Step 3: Remove from heat / Prep
Take the pan off the heat and let the mixture cool for at least 10minutes.
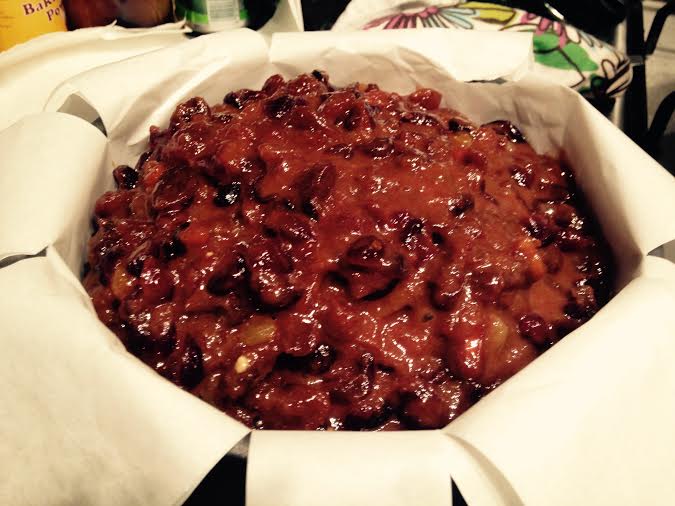
Pre heat the oven to 130°c and line a loose bottom (8inch) baking tin with baking paper.
Tip: line the tin as two separate parts take the bottom and line with paper, then take a huge strip the that goes all the way around the inside then side the lined circular piece into the pre lined cage and the paper then holds itself in place 🙂
Step 4: Making the cake pt2
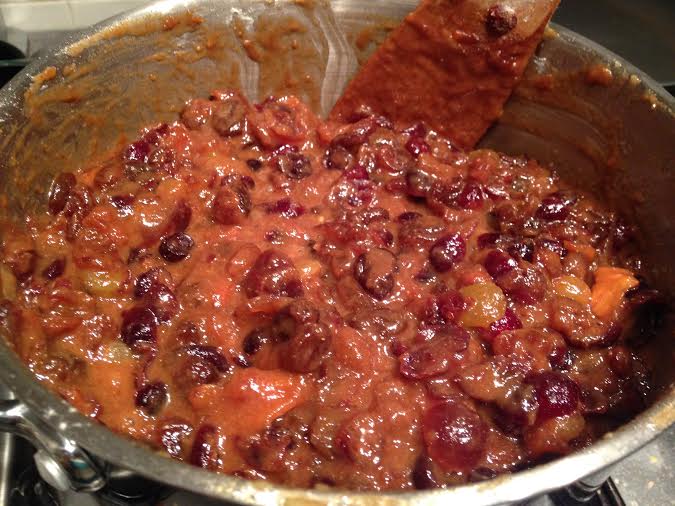 Once the mixture has cooled, stir the eggs and ground almonds into the fruit mixture and mix well.
Then sift the flour, baking powder and spices into the pan, stir in gently, until there is no traces of flour visible in the mixture.
Step 5: It’s baking (and waiting) time!
Carefully spoon the mixture into your pre-lined tin, it will come very close to the top of the tin, don’t worry it won’t rise like regular cake.
 The cook at 130°c for 1 hour.
After the first hour turn the oven down to 120°c and cook for a further 1 1/2 hours.
After 2 1/2 hours of cooking, keep checking your cake every half an hour, mine took around 4 hours in total, you will know that your cake is done when you stick a skewer through the center and it come out clear.
Tips
- I have an electric fan oven if you don’t have a fan oven increase by about 10-20°c
- If the top is browning too much but the skewer is still not coming out clear cover the top with tin foil whilst in the oven.
- If you use a knife or something larger than a skewer you are likely to get a hole in the middle of your cake, which isn’t a problem if you are going to ice it but worth not doing if you plan to serve as it is.
Step 6: Cooling time
Once the cake is cooked (Finally!) remove from the oven and leave it to cool in the tin on the side.
Step 7: It’s Feeding time
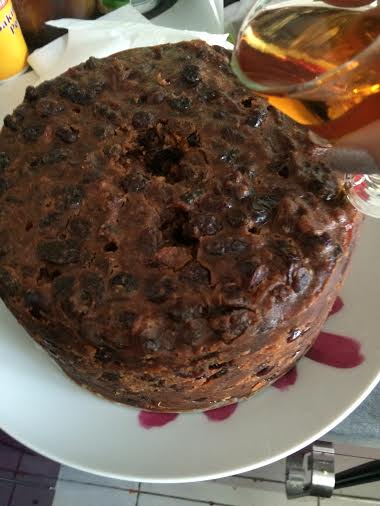 Make holes all over the warm cake with a fine skewer and spoon around 25-50ml of alcohol over the holes until it has all soaked in.
Step 8: Wrap up time
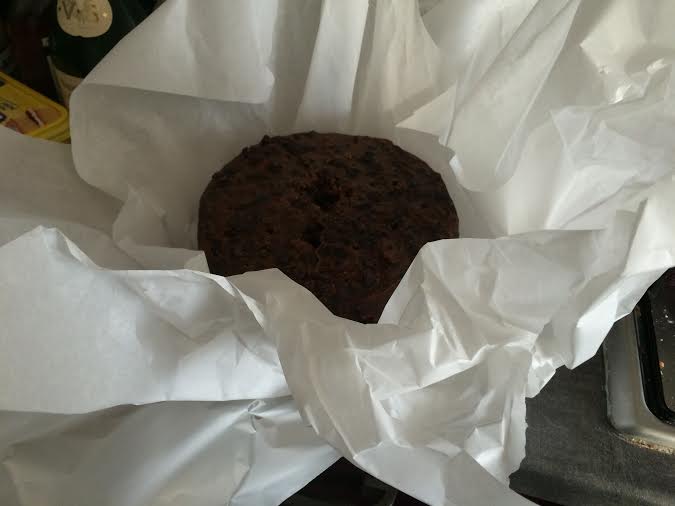 When the cake is cold, remove it from the tin, peel off the lining paper.
Then wrap first in baking paper and then in foil, when wrapping it up make sure it is easily accesessble from the top as you will need to continue to feed your cake (repeat step 7) about once a week until it is ready to ice/eat.
The cake will keep in a cupboard for up to three months or you can freeze it for six.
Tip: Keep the base of the baking tin on the cake until it is ready to eat as this helps it retain it’s alcohol.
Step 9: Eat or Ice
Now if you like a plain cake then that’s it keep it well fed but it is ready to go.
Or if like me you want to go all out with the marzipan & icing continue to feed the cake until about a week and a half before you want to eat it.
The Marzipan needs to be done a week before you ice 🙂 for more info on decorating your xmas cake including GF marzipan and icing check out the following post (Link – Coming soon).

It looks so tasty!
Just bought my ingredients! Will be making this next week. First time I’ve ever done a Xmas cake!